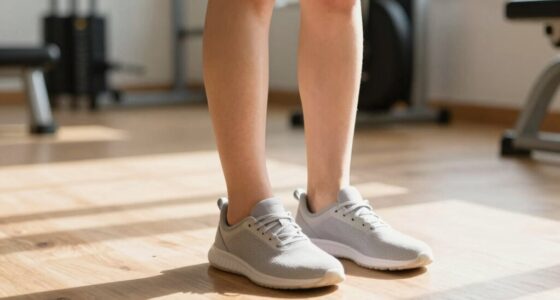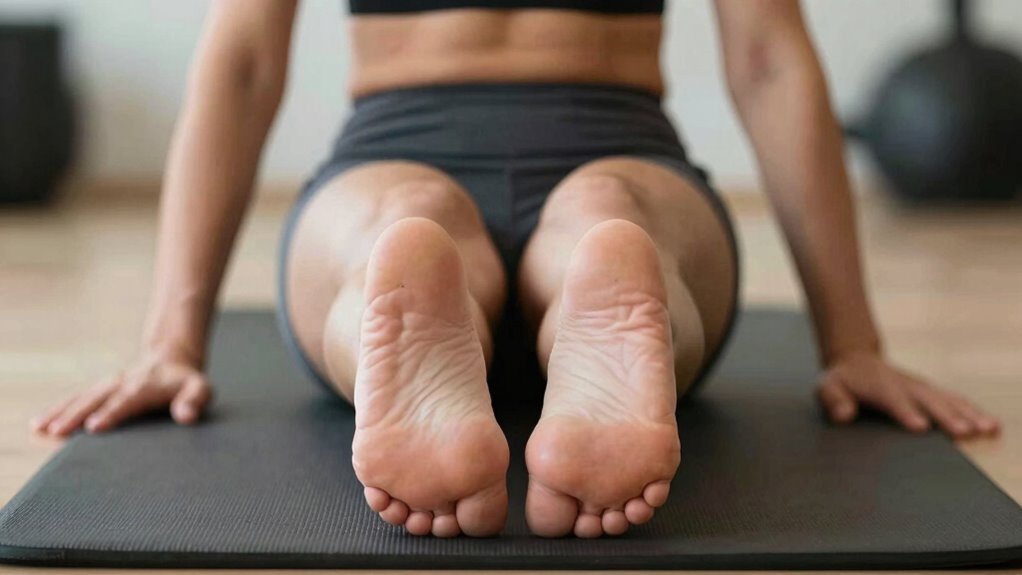

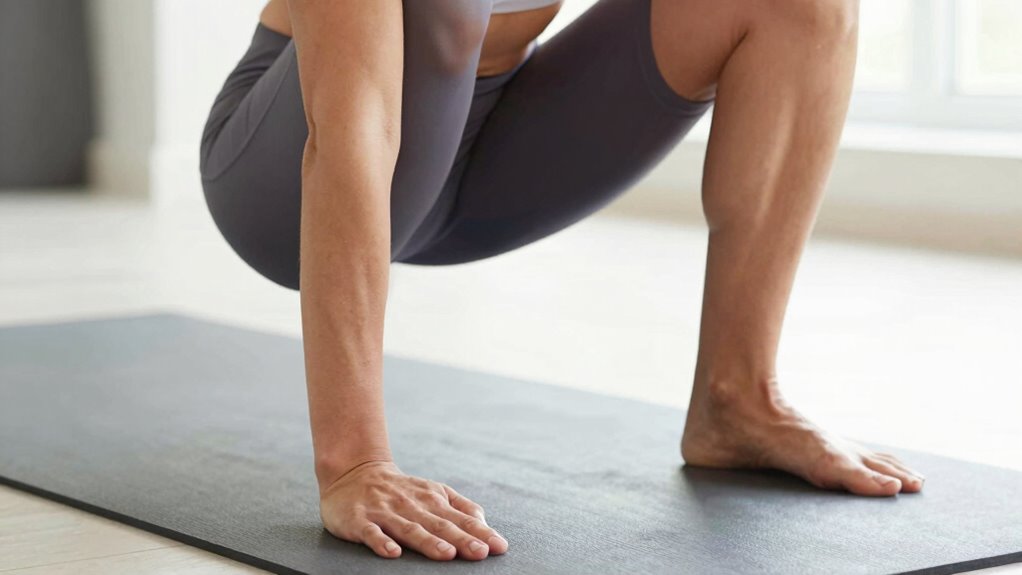
Proper foot placement is vital for maximizing glute activation and maintaining stability during the glute bridge. Keep your feet hip-width apart, pointed straight ahead or slightly outward, and make sure your ankles stay neutral and aligned under your knees. Avoid turning your feet inward or outward, as it can reduce effectiveness and increase injury risk. Focusing on proper setup can transform your workout—continue on to discover how small adjustments make a big difference.
Key Takeaways
- Keep feet parallel and hip-width apart, with toes slightly outward for optimal glute engagement.
- Position ankles directly under knees to ensure stability and proper joint alignment.
- Adjust foot stance based on ankle flexibility and footwear to maximize muscle activation.
- Maintain even weight distribution across the foot arch for balanced muscle engagement.
- Use mirrors or feedback to ensure neutral foot and ankle positioning throughout the exercise.
Why Foot Placement Matters in the Glute Bridge
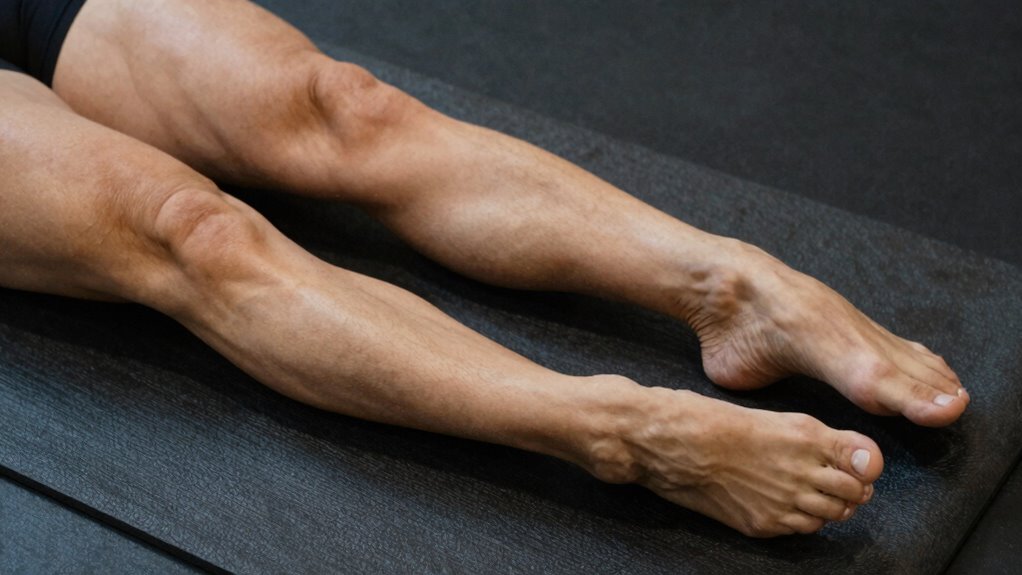
Your foot placement plays a crucial role in maximizing the effectiveness of the glute bridge. Proper foot alignment ensures that your ankles are positioned directly under your knees, creating a stable base. When your ankles are correctly aligned, your calves and feet support your hips properly, reducing unnecessary strain. Proper ankle positioning also helps activate your glutes effectively, rather than relying on your lower back or hamstrings. If your feet are too far forward or too inward, you risk shifting focus away from your glutes, limiting gains. Keep your feet parallel and aligned with your hips to promote ideal muscle engagement. Paying attention to foot alignment and ankle positioning is essential to optimize your exercise and prevent injury. Ensuring correct muscle engagement can significantly improve your results. Additionally, being mindful of your body positioning helps maintain proper form throughout the movement. By paying attention to foot alignment and ankle positioning, you set the foundation for a more effective and safe glute bridge. Incorporating proper exercise technique can further enhance your workout and reduce the risk of injury. Understanding muscle activation principles can help you target the right muscles more effectively.
How Different Foot Positions Target Key Muscles
Your foot position in a glute bridge directly influences which muscles get activated. Moving your feet closer or farther apart shifts focus between your glutes and hamstrings. Understanding these variations helps you target your key muscles more effectively during each set. Additionally, being aware of fandom’s past, present, and future can provide insight into motivation and community engagement during your workout journey. Recognizing how muscle engagement changes with foot placement allows for more precise and effective training outcomes. Being mindful of exercise modifications can further optimize your results and prevent injury. Incorporating proper form techniques ensures that you maximize benefits while minimizing the risk of strain or injury. Adjusting your foot position can also influence muscle activation patterns, leading to more balanced development.
Foot Placement and Glutes
Foot placement during a glute bridge considerably influences which muscles are activated. When your feet are positioned closer together, you target the glutes more directly, while wider placement engages the hips differently. Your ankle flexibility also plays a role—if you have limited flexibility, a neutral footwear choice with supportive, flat shoes can help maintain proper alignment. Conversely, barefoot or minimalist footwear allows for better ankle mobility, allowing you to adjust foot position comfortably. Proper foot placement guarantees ideal glute engagement without overloading other muscles like the quads or lower back. Experimenting with slightly different foot positions can help you find the setup that maximizes glute activation based on your ankle flexibility and footwear choice, leading to more effective and safer workouts.
Variations in Hamstring Engagement
Changing foot positions during a glute bridge alters how hamstrings are engaged, allowing you to target this muscle group more directly. When you adjust your foot placement, it impacts hip flexibility and ankle alignment, which influence hamstring activation. Placing your feet closer together shifts more load onto the hamstrings, especially when your hips and ankles are properly aligned. Conversely, wider foot placement can reduce hamstring engagement, emphasizing glutes instead. Pay attention to ankle alignment—misaligned ankles can limit hamstring activation and compromise form. To maximize hamstring work, experiment with foot positioning while maintaining hip flexibility and proper ankle alignment. Small adjustments can profoundly change which muscles are recruited, helping you tailor your glute bridge to strengthen both your glutes and hamstrings effectively. Proper foot placement is essential for optimizing muscle activation and preventing injury. Additionally, understanding the influence of muscle recruitment can help you refine your technique for better results. For example, paying attention to joint stability can further enhance the effectiveness of your exercise and reduce the risk of strain. Incorporating regional muscle engagement strategies can optimize overall workout outcomes. Being mindful of ankle alignment can also improve exercise safety and effectiveness.
Step-by-Step: How to Set Up Your Feet Correctly
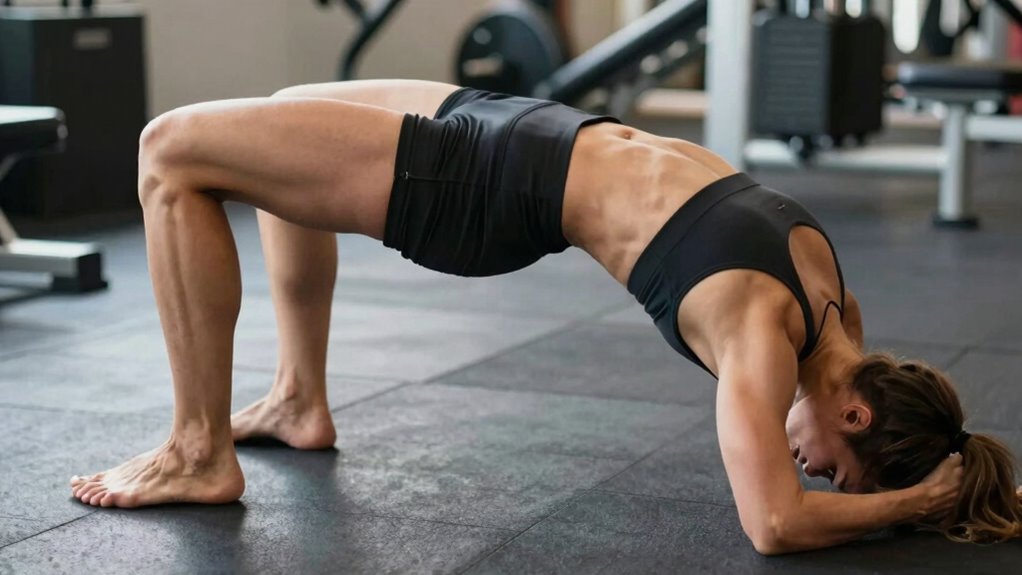
To set up your feet correctly for a glute bridge, start by lying on your back with knees bent and feet flat on the ground. Focus on foot alignment; your feet should be hip-width apart, pointing straight ahead. Make certain your ankles are stable by keeping them in a neutral position, avoiding inward or outward rolling. Proper foot placement activates glutes effectively and prevents injury. Use this table to guide your setup:
| Step | Action | Purpose |
|---|---|---|
| Foot placement | Place feet flat, hip-width apart | Maintain foot alignment |
| Ankle position | Keep ankles neutral, avoid rolling inward | Ensure ankle stability |
| Knee alignment | Knees bend directly over the heels | Proper joint engagement |
| Overall stance | Distribute weight evenly across feet | Maximize stability and activation |
Follow these steps for best setup and results.
Common Mistakes in Foot Placement and How to Fix Them
One common mistake is letting your feet turn inward or outward during the glute bridge, which can decrease glute activation and increase injury risk. Poor foot alignment disrupts proper ankle positioning, reducing effectiveness. To fix this:
Ensure your feet stay parallel and aligned to boost glute activation and prevent injury.
- Keep your feet parallel, aligned with your hips.
- Focus on maintaining neutral ankle positioning throughout the movement.
- Avoid rolling your ankles inward or outward.
- Use a mirror or feedback to check your foot placement.
- Engage your core to support stable foot and ankle alignment.
- Remember that foot positioning impacts not only muscle engagement but also the overall safety of the exercise.
- Proper foot placement is essential for achieving optimal results and preventing potential injuries, especially when considering the biomechanics involved.
- Ensuring proper foot alignment can also enhance overall exercise performance and help prevent strain on other joints.
Foot Placement Variations for Advanced Glute Activation
For those looking to maximize glute activation during your bridge, experimenting with foot placement can make a significant difference. Adjusting your foot position subtly influences muscle engagement. Additionally, maintaining ankle flexibility allows for more precise foot positioning, enhancing stability and muscle recruitment. Improving your balance and motivation can also help you maintain proper form during these variations. Incorporating muscle engagement strategies can further optimize your workout results. Being aware of water-resistant and quick-drying materials can also help when transitioning between different exercises or environments. For example, ankle mobility plays a crucial role in achieving the correct foot position and overall exercise effectiveness. Developing proper form is essential for preventing injury and ensuring maximum benefit from your glute bridge exercises. Here’s a quick guide:
| Foot Position | Key Focus |
|---|---|
| Slightly outward | Engages glute medius more |
| Slightly inward | Emphasizes glute maximus |
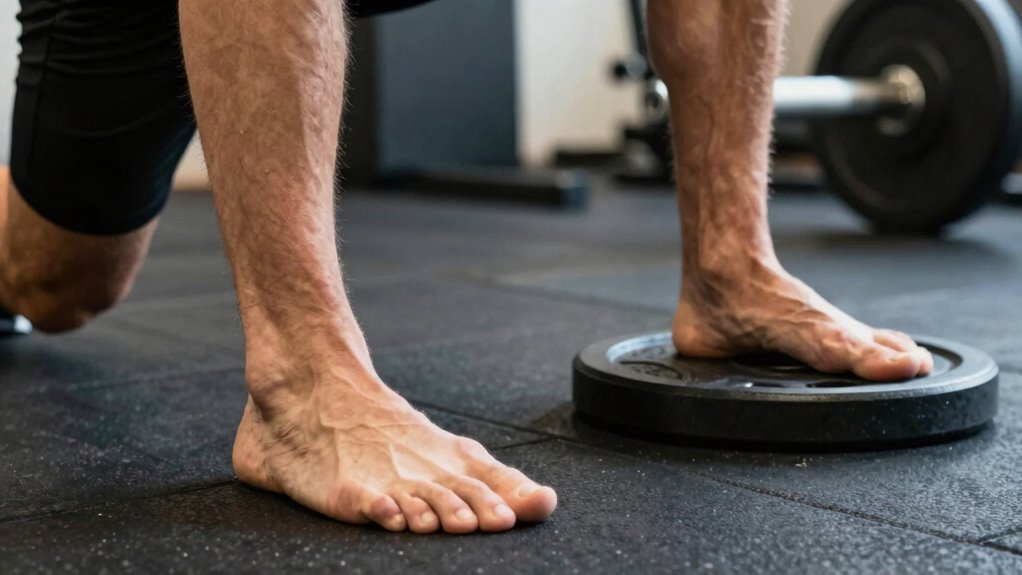
| Elevated toes | Improves ankle mobility |
| Flat feet | Focuses on overall glute activation |
Troubleshooting Your Foot Setup for Safety and Best Results

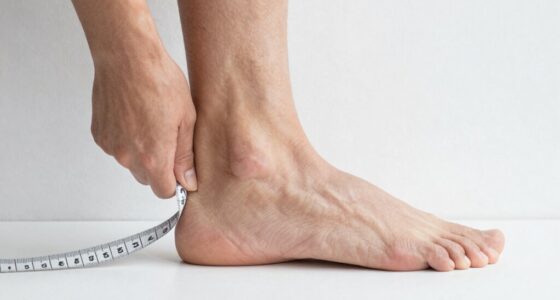
Your foot placement is key to performing glute bridges safely and effectively. If your feet are too far forward or too close, you might strain your back or reduce glute activation. Check for common setup mistakes to make sure you’re getting the best results without risking injury. Correct body positioning is essential, and considering the importance of proper form, consulting professional guidance or using mirrors can help ensure correct positioning. Additionally, ensuring your body jewelry materials and measurements are appropriate can help prevent discomfort during exercise. Incorporating proper exercise techniques can further optimize your safety and effectiveness. Being aware of exercise safety and how to adjust your setup accordingly can also contribute to more consistent and injury-free workouts. Paying attention to supportive workout gear can also enhance stability and comfort during your exercise routine.
Proper Foot Placement Matters
Have you ever wondered why foot placement affects the effectiveness and safety of a glute bridge? Proper foot positioning ensures ideal engagement and minimizes injury risk. Your ankle mobility and foot arch play key roles in finding the right setup. If your ankles lack flexibility, your feet might turn outward or inward, reducing stability. A high or collapsed foot arch can also shift pressure away from your glutes. To troubleshoot, consider these tips:
- Keep feet shoulder-width apart for balance
- Position feet so toes point slightly outward
- Ensure even weight distribution across the foot arch
- Avoid excessive inward or outward foot rotation
- Adjust foot placement based on ankle mobility limitations
Getting this right maximizes glute activation and keeps your body safe during each rep.
Avoid Common Setup Mistakes
Many people make common setup mistakes that can compromise both safety and effectiveness during a glute bridge. One key error is ignoring footwear choice, which can affect stability. Wearing shoes with bulky soles or inadequate grip can cause your feet to slip or shift, reducing control. Additionally, neglecting ankle flexibility can lead to improper foot positioning. If your ankles are stiff, you might struggle to keep your feet flat and aligned, risking strain or injury. Focus on wearing supportive, flat shoes or going barefoot when possible. Also, gently stretch your ankles before exercising to improve flexibility. Avoid rushing into the setup without considering these factors. Proper footwear and ankle mobility are essential for a stable, safe, and effective glute bridge.
Frequently Asked Questions
Can Foot Placement Influence Hip or Lower Back Pain During the Exercise?
Yes, foot placement can influence hip or lower back pain during the exercise. When you position your feet, pay attention to knee alignment and pelvis tilt. If your feet are too far or too close, it can cause misalignment, increasing strain on your hips and lower back. Adjusting your foot position helps maintain proper pelvis tilt and knee alignment, reducing discomfort and preventing injury during the glute bridge.
How Does Foot Angle Affect Glute Engagement Versus Hamstring Activation?
Your foot angle directly impacts muscle activation during a glute bridge. A wider foot angle tends to target your glutes more effectively, increasing activation, while a narrower or toes-forward position shifts some effort to your hamstrings. Experiment with different foot angles to find what best emphasizes glute engagement without overly involving your hamstrings. Adjusting your foot position can optimize your workout and help prevent discomfort.
Is There a Preferred Foot Position for Beginners or Those With Mobility Issues?
If you’re a beginner or have mobility issues, start with your feet shoulder-width apart and comfortably aligned with your hips. Focus on initial positioning that feels natural and supports foot comfort, avoiding excessive angles that strain your ankles or knees. Keep your feet flat on the ground, and adjust slightly if needed to maintain stability and ease. This approach helps you engage your glutes effectively while minimizing discomfort or injury risk.
Should Foot Stance Be Adjusted Based on Individual Anatomical Differences?
You should definitely adjust your foot stance based on your unique anatomy. Imagine how ankle mobility and hip flexibility influence your comfort and effectiveness during the exercise. If you feel strain or instability, experiment with wider or narrower stances to find what feels natural. Listening to your body helps guarantee proper engagement and reduces injury risk, so customize your setup for ideal results and comfort.
How Often Should I Vary My Foot Setup to Prevent Plateaus?
You should vary your foot placement every few weeks to prevent plateaus and keep muscle engagement fresh. Changing your foot stance alters which muscles activate most, helping you target different areas of your glutes and hamstrings. Pay attention to how your body responds; if you notice a decline in intensity or progress stalls, experiment with wider or narrower stances. Regular variation ensures continuous muscle engagement and maximum growth.
Conclusion
Think of your foot placement in the glute bridge like tuning a guitar — the right position hits the perfect note. When your feet are set just right, you activate your muscles more effectively and avoid injury. Experiment with different positions to find what resonates best for your body. Remember, small adjustments can make a big difference, turning your workout into a symphony of strength and stability. Keep tuning until you strike the perfect chord!